

How To Hang A Garden Shed Door
Jump to How-To
Recently, my Carpenter Dad showed me how to build a shed door. So here, I'm going to relay what we did if you're in the market for building shed doors too.
Firstly, if you haven't caught up with the early stages of our DIY Summerhouse, you can find:
- Building a Summerhouse's Frame and Base
- Cladding Shed Time on Our Summer House
- Adding the Felt Shed Roof
And in this post, I'll be showing you how my Dad makes some of his shed doors on a weekly basis. These are all out door sheds, but the same rules apply to a double door garden shed, but with a little bit more clearance allowed.
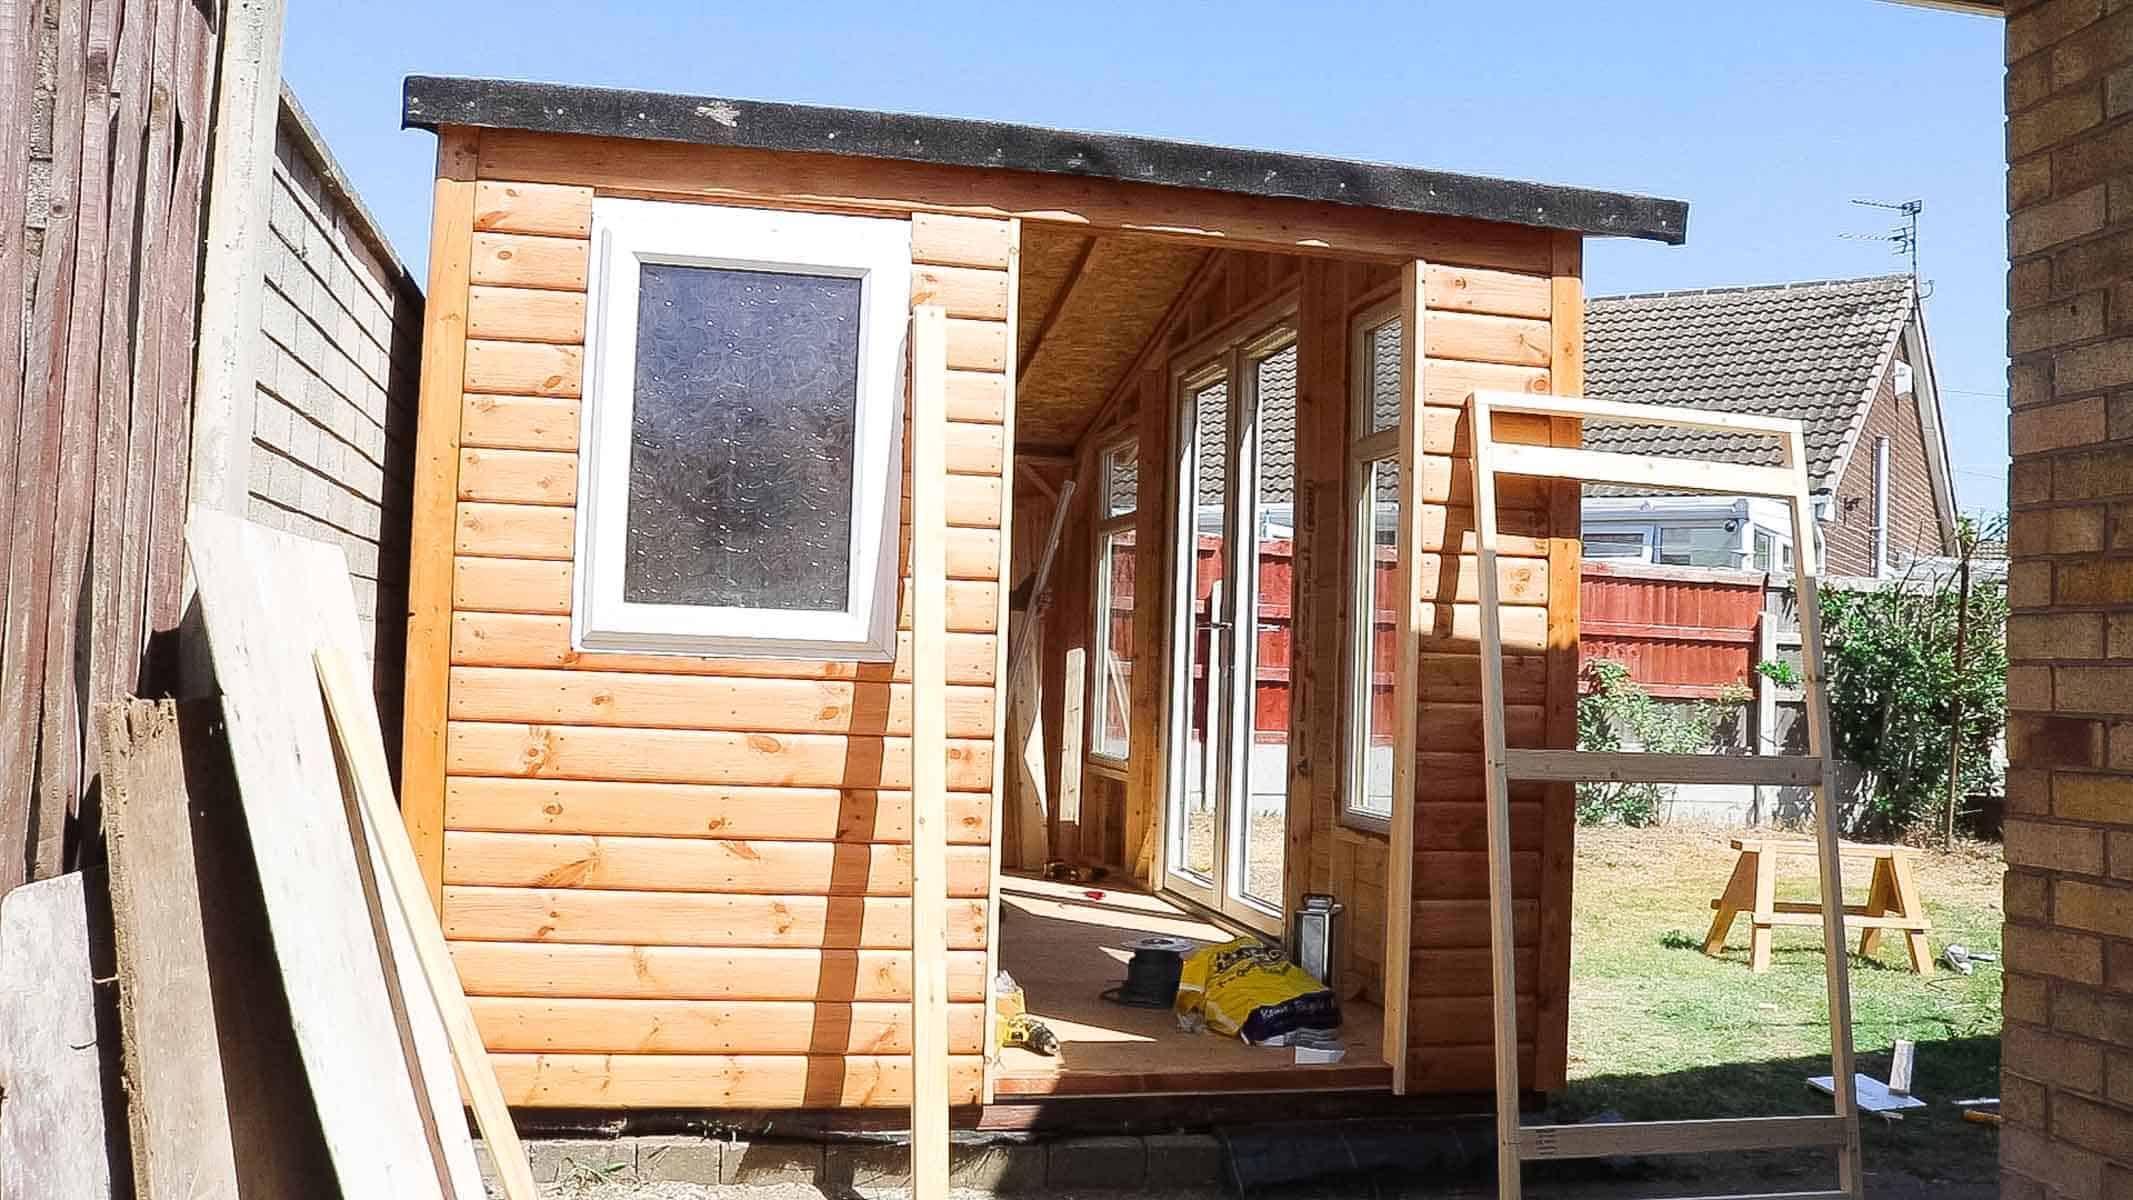
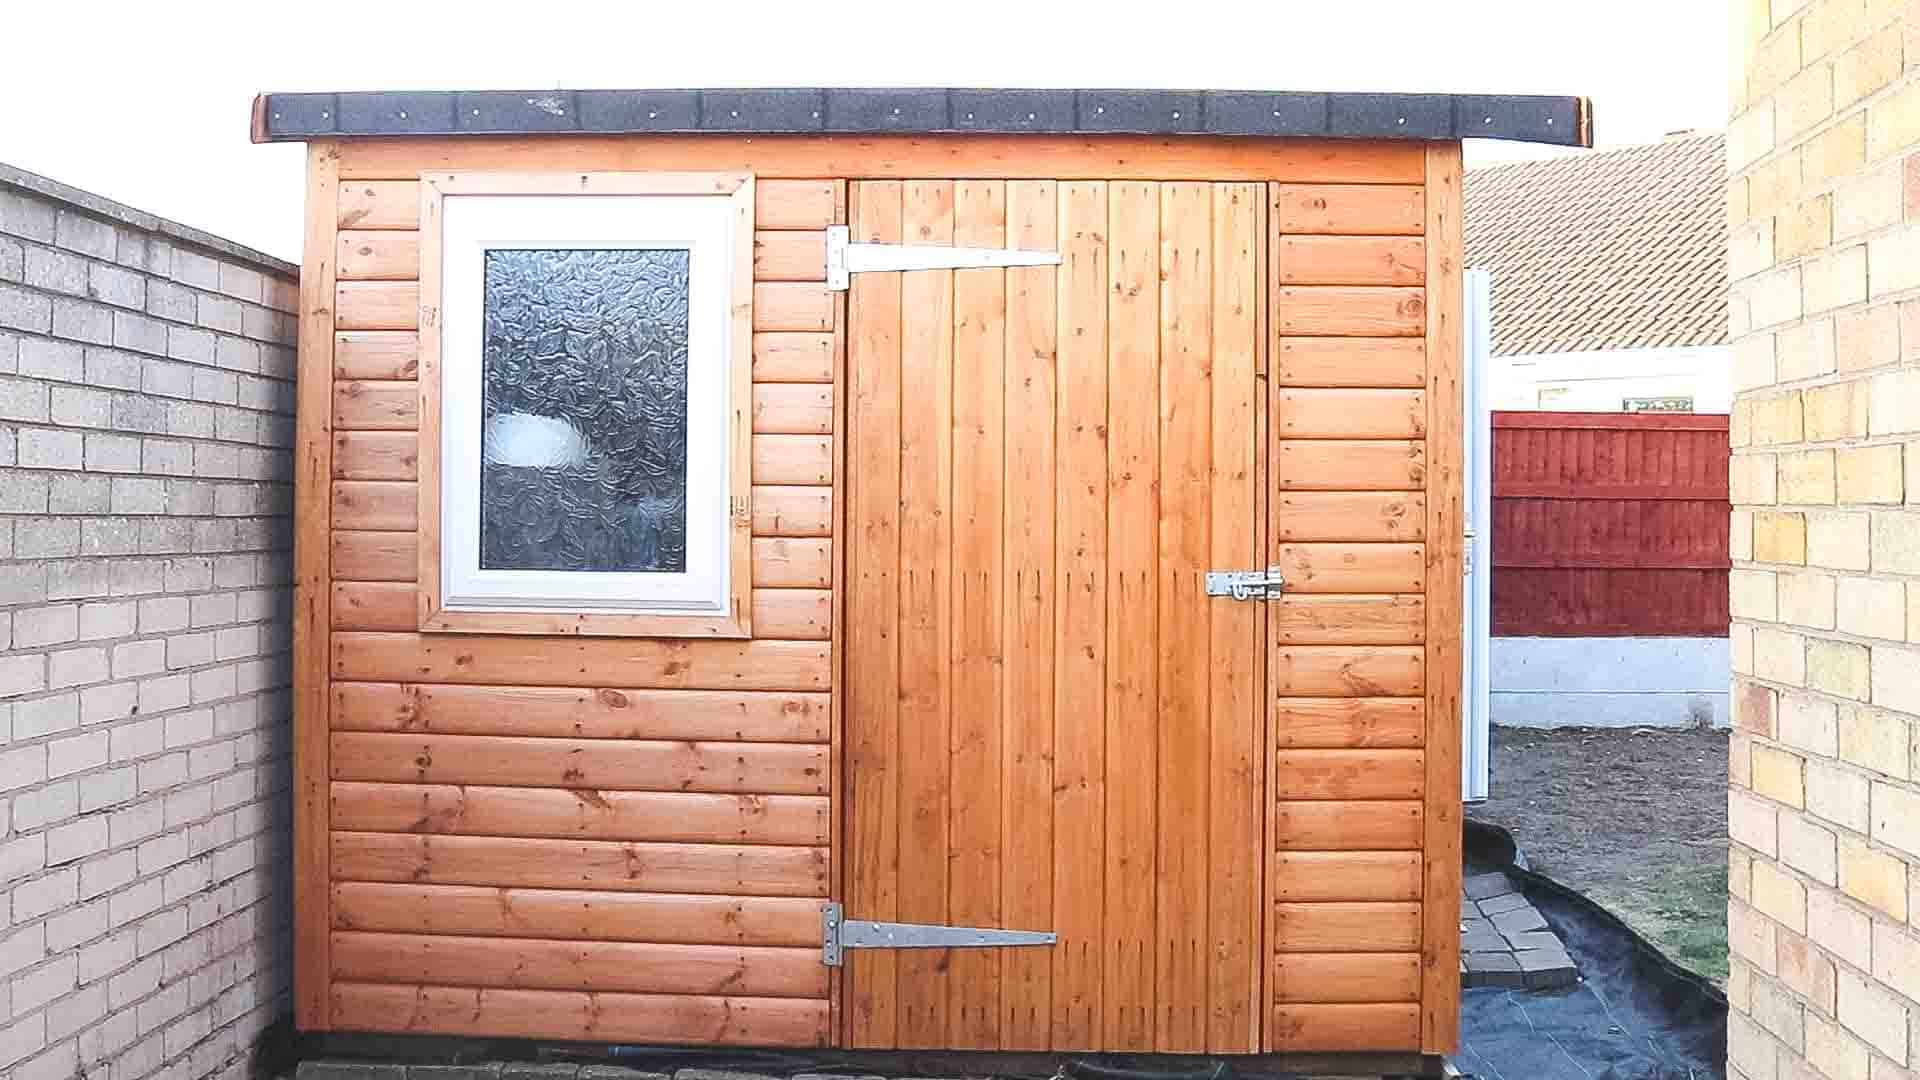
First, I'd like to talk to you about your options. With this being a Summer house, my parents bought some ex-display double glazing double doors to act as UPVC shed doors.
This can be a stylish and cheap way to do it with 2nd hand glazing, providing that you've built around them right from the start. But we then wanted to create our shed with side door options.
Other doors for shed ideas you could look in to is: a double door shed, roll up doors for sheds like garage shed doors, a sliding shed doors, metal shed doors etc.
Building a Shed Door Frame
OK, so let's talk about the shed door frame. Before you do this, you'll need to add flashings (aka, wooden trim) to cover the raw edge of cladding on the opening
Then take the width and reduce it by 15mm for clearance. This gives the total width for your shed door. HOWEVER, you'll also then need to deduct another two flashings to add to your shed door.
Once followed above, this will give your wooden door frame width total. I'll show you how to build it from scratch in my upcoming lean to shed door project, coming very soon. As for the height, ensure you have the same clearance, but this won't have any trims on it.

How to Ensure Your Shed Door Is Square
If you don't make sure your door frame is square, you could have issues when trying to fit it. Or opening and closing it.
First, above, I nailed down both bottom corners to a surface. Then, using a tape measure, hold it on one corner and ask something to check the measurements, diagonally for you.
Repeat for the opposite corner and if they match, then you don't need to do anything. If one is slightly longer, then tap that side with a hammer until they both match.

How to Brace a Shed Door
Firsty, I'd like to point out, that if you've made a very narrow door, then my Dad informs me a brace doesn't really matter. You can see my how to build a wooden gate tutorial here which was about 49cm wide. This would be perfect for small shed doors.
However, anything wider or heavier, we advise you to brace it to prevent sagging. It's important to aim the bottom brace towards the bottom towards the hinge side as seen in my double wooden gate post.
So note, below, the door's framework is laid on the floor and we'll be cladding the top of it.
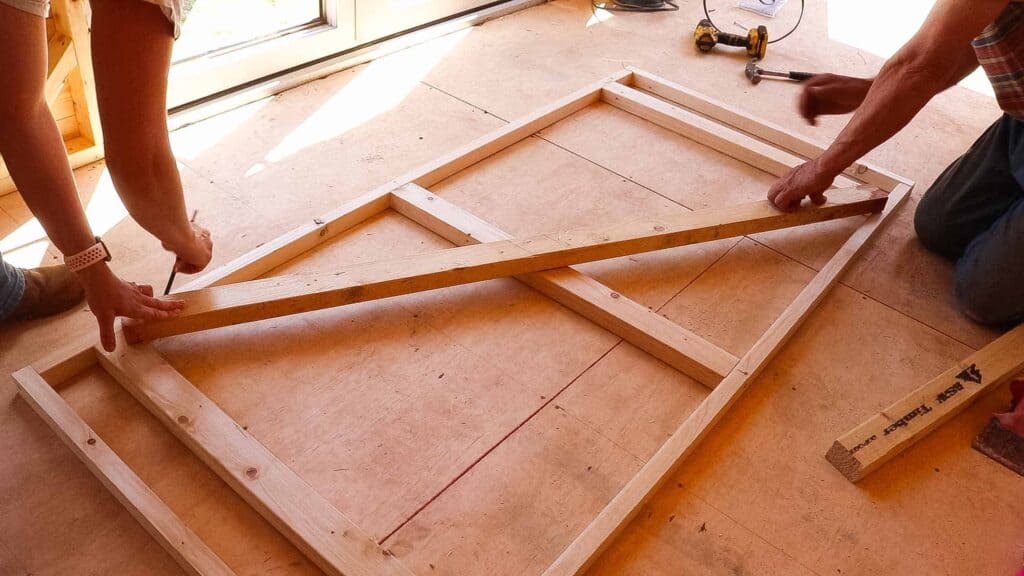
After cutting another structural piece of timber with a mitred cut, we laid it on top, towards the bottom, opposite corner.
Then drew on it where it fell and overlapped with the frame.
Also, below, I used another straight offcut to keep inline with the existing framework in the middle. And drew again where we needed to cut it.

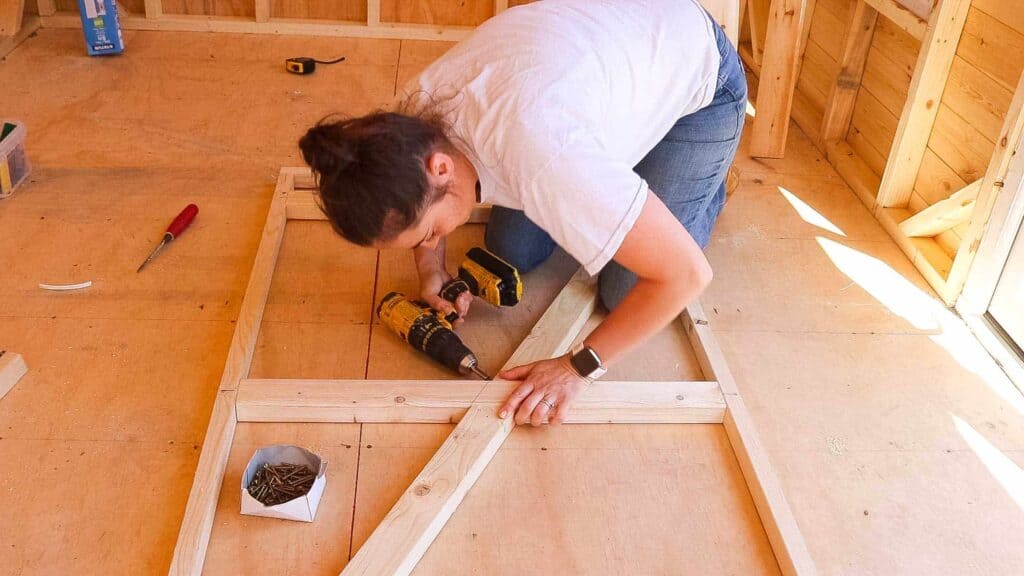
Then, after cutting my pencil marks with a mitre saw, I slotted the braces in and screwed to the shed door frame with a combi drill.
I recommend pre drilling these first as they're close to the edge.
If you want to add glue, then you can do, but we didn't.
Cladding a Shed Door
First, you'll need to cut the cladding. Note, it needs to be in line with the top of the shed door frame, but have the same overhang as the shed. Please refer to my cladding shed time tutorial here.
Then, I screwed the first piece of cladding to the framework for extra strength, before nailing the ones in between.
As we didn't use exterior wood glue, instead, I added screws to the brace as I went along. Again, using nails for the rest. As for the final piece, I ensured this was screwed, too and not nailed.

Adding Shed Door Trim
When making doors for a shed, you'll also want to add a a shed door trim to tidy it up. It should also add some protection from the weather.
I pre-drilled and screwed a piece on either side, to the same length of the cladding.
Then you'll need to cut a notch out of the bottom with a hand saw so it can close properly.

Treating A Shed Door
One of the key things I've learnt off my Dad to make it suitable as an external shed door is to use the right treatment. Avoid anything that doesn't say preserve or preservative on it. If it's water based, it's likely to just be coloured water.
For ease and aesthetics, we prefer using an oil based colour of your choice, such as Ronseal's Total Preservative. It basically does two jobs in one for you.
It's treats and adds colour and needs to be topped up as frequent as it states on the packaging. Possibly once a year. If you would like to paint it later with a waterproof paint, then I would leave it to dry for about 2 weeks.
Health and Safety Tip:
It is NOT recommended to treat the inside of the door or shed as it is toxic, which is not ideal in a closed space. And preferably, you should wear a mask or apply in a well-ventilated area, which I did.

Adding Shed Door Hinges
When it comes to shed door hinges, you need to look for suitable ones that will hold the weight of the shed door. Look for heavy shed door hinges, particularly that are galvanised for the weather.
To make sure your shed door hinges' security it tight, we also later recommend swapping some for coach bolts. But where you place your garden shed door hinges is also important. Make sure you mount them where the battens are behind the cladding for strength.
I also added a one of our favourite shed door locks to match, which you can see how to fit a shed lock here for more details.

How We Hang a Shed Door
When it comes to hanging a shed door, it's easier if you work with someone on this. Or, use shims or packers to keep it square and in place while you mount it to the shed.
After evenly spacing our the door but with 5mm on the hinge side and 1cm on the lock side, my Dad held the shed door for me.
Meanwhile, I added one screw initially in the top, then readjusted if needed and another in the bottom. Then while both hinges are partially attached, I screwed the rest on.I then

After adding the matching piece to the timber shed door's lock, we later added another piece of trim on the inside's hinge side. This prevents anyone from seeing inside.
Note though, if you haven't got any overhang on the bottom where your cladding is, you'll also need to add a shed door stop on the inside. This will prevent it from pushing inwards and your hinges potentially breaking.
We also later preserved the door frame trim and yes, I promise I'll treat the bottom edge of cladding this weekend. I spotted I missed this bit in my photography. Oops! *The grain is the most important to treat.

So, I hope you enjoyed my how to build a shed door tutorial and that making doors for sheds can be very simple. Even if you need to make your own replacement shed doors and your existing one has seen better days.
Or, perhaps replicate this twice to make a double shed door if you're feeling ambitious! You won't learnt if you don't try!
Prep Time 2 hours
Active Time 3 hours
Total Time 5 hours
Difficulty Some skill required
Estimated Cost £150
Materials
- Nails
- Screws
- Wood
- Hinges
- Wood preserver
- Bolt
Tools
- Combi drill
- Hammer
- Hand saw
- Mire saw
- Tape measure
Instructions
- First, measure the width of the shed door you have. Deduct by 2 x the thickness of trim you plan to use, called flashings and another 15mm for clearance.
- Now build the frame as shown in the post and mark and cut the brace for it with a mitre saw.
- Check for square and temporarily nail to a surface.
- Now cut and add the tongue and groove cladding. You can glue and nail or screw the first piece and nail the ones in between without glue.
- Treat with wood preserver and wait to dry.
- Screw the shed hinges on where the frame is also behind for strength.
- Attach the flashing trim and cut an L shape with a handsaw at the bottom.
- Line up the shed door and screw to the shed.
- Screw a bolt on to fasten.
You Might Also Like
- Double metal driveway installation
- DIY cheap bike shed
- Replace a uPVC door handle
- 20 Organizing tool ideas in a shed workshop
How To Hang A Garden Shed Door
Source: https://thecarpentersdaughter.co.uk/woodworking/how-to-build-a-shed-door/
Posted by: balfourwatiod.blogspot.com
0 Response to "How To Hang A Garden Shed Door"
Post a Comment